There are many free and paid log monitoring tools available for different OS. For this demo, I am using Splunk Enterprise as a log monitoring tool on Ubuntu VM.
In this article we will setup a Ubuntu VM and install Splunk Enterprise to collect logs from windows server 2019. Once done, we will install universal forwarder on Windows Server 2019 to forward the logs to Ubuntu VM.
- Part 1 – Overview and Network Configuration.
- Part 2 – Installing pfSense Firewall on Virtual Machine.
- Part 3 – Setup Kali Linux on Virtual Machine.
- Part 4 – Configuring the pfSense Firewall.
- Part 5 – Active Directory Forest Setup.
- Part 6 – Setting up Windows 10 Machine.
Table of contents
Ubuntu Setup.
Download Ubuntu ISO file.
Navigate to the url Download Ubuntu Desktop and download the latest version of Ubuntu Desktop.
We are choosing Ubuntu Desktop over Ubuntu Server, because Ubuntu Desktop has GUI (Graphical User Interface) and Ubuntu Server does not.
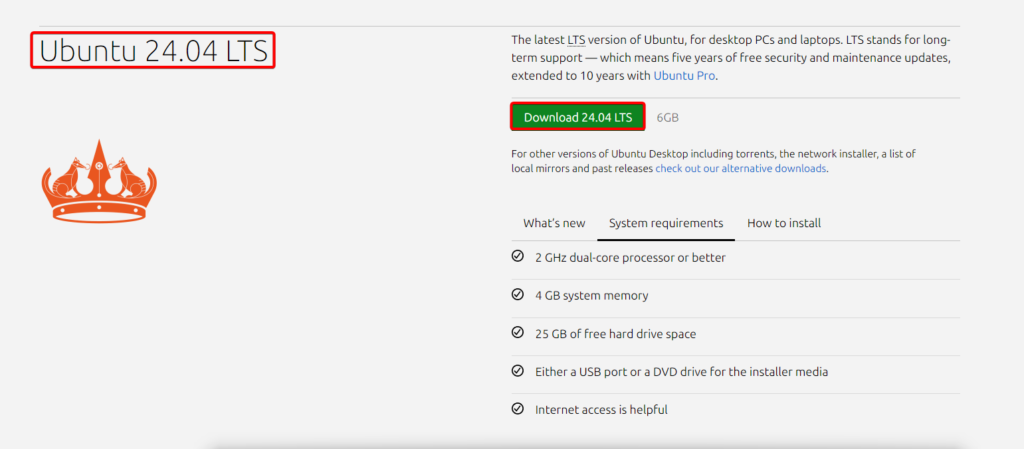
Wait for the ISO file to be downloaded.
VM Creation.
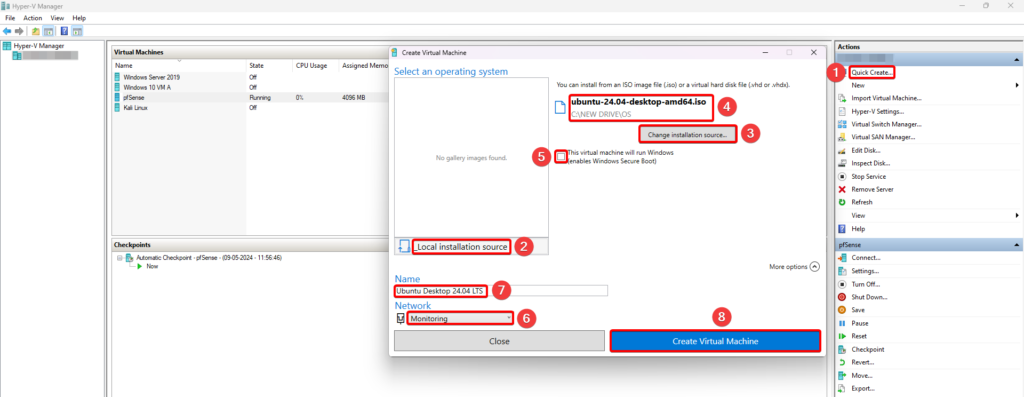
- Step 1: Open Hyper-V Manager –> Select Quick Create from the Actions menu.
- Step 2: Select Local Installation Source.
- Step 3: Select Change Installation Source.
- Step 4: Open the path where the Ubuntu ISO file is downloaded and select the ISO file.
- Step 5: Uncheck the option enable Windows Secure Boot.
- Step 6: Change the network switch for the VM to Monitoring.
- Step 7: Change the name of the VM.
- Step 8: Select Create Virtual Machine.
Install Ubuntu.
Start the VM.
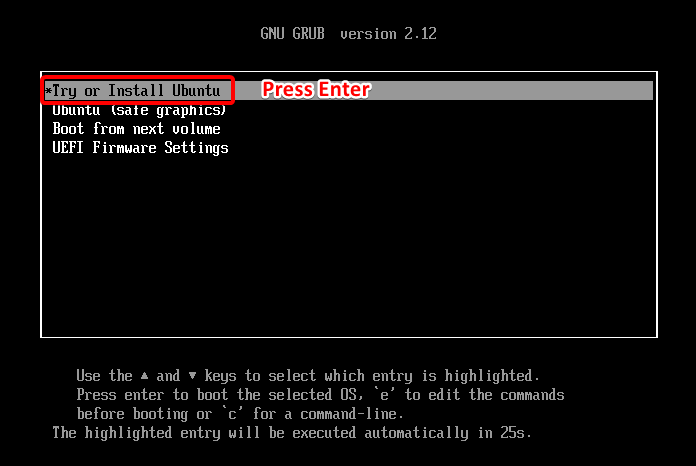
Select the option Try or Install ubuntu to enter Graphical User Interface of Installation setup.
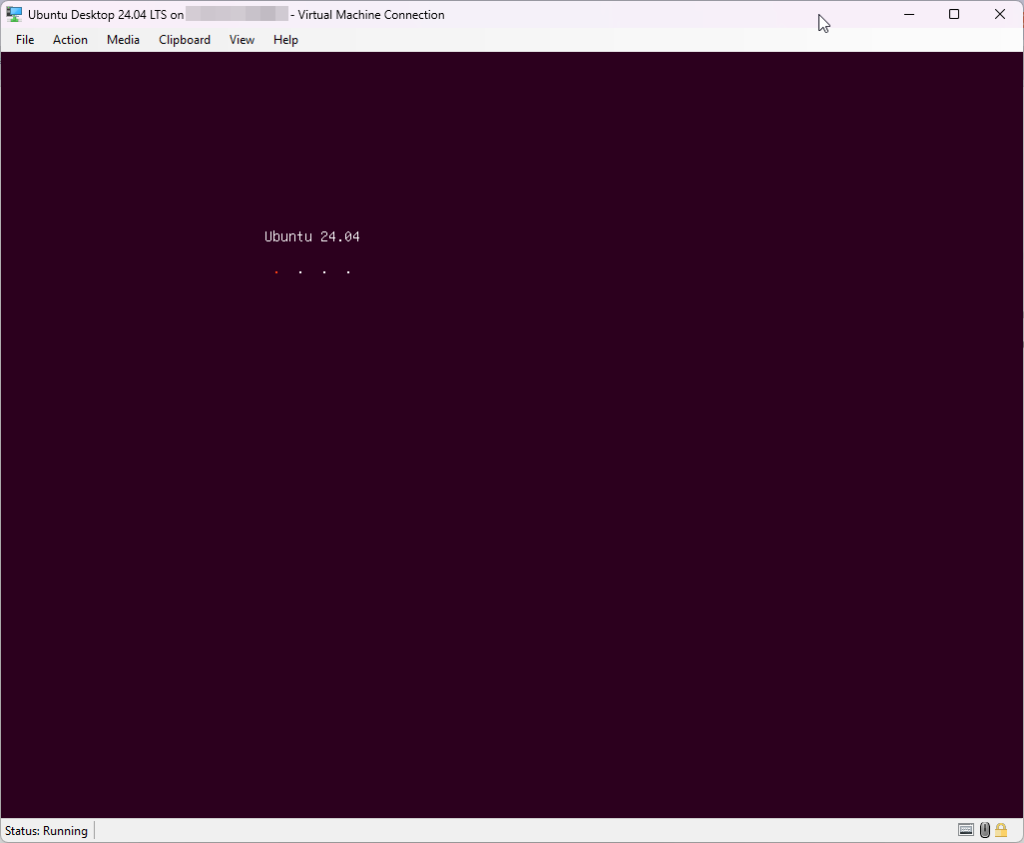
Wait for the setup options to load.
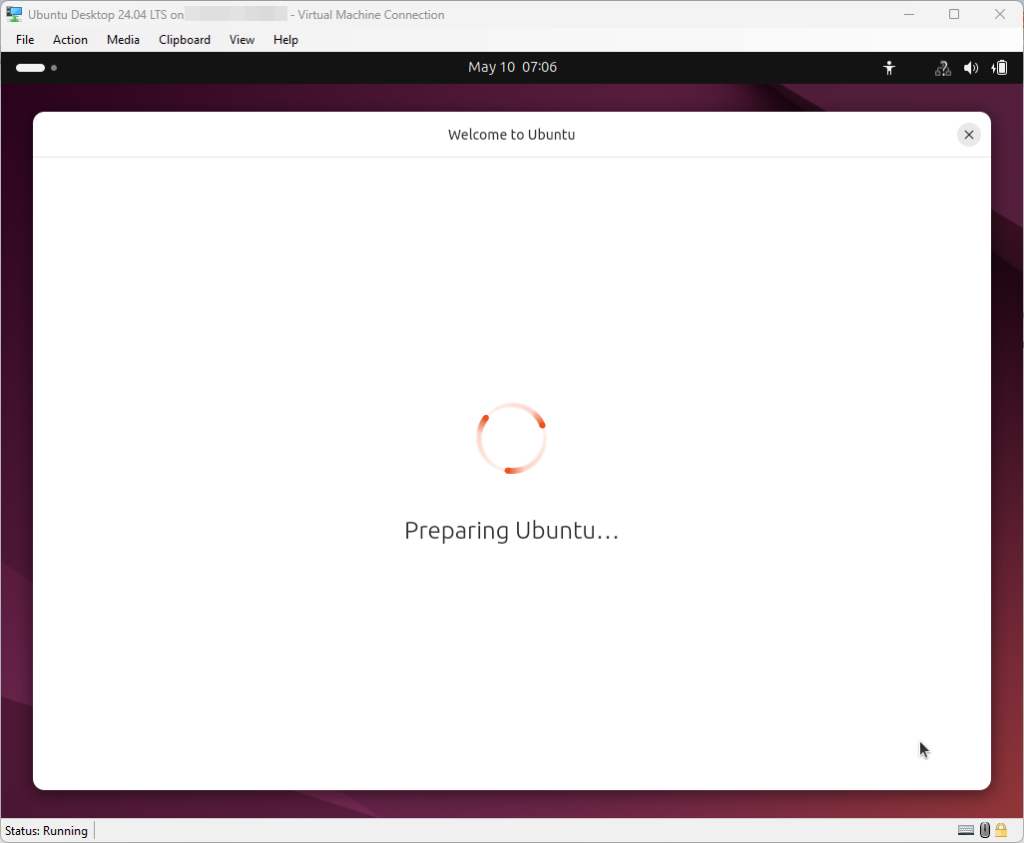
Select the Language of your choice and hit next

Select Next in the Accessibility options (no changes required).

Select Keyboard Layout and click on Next

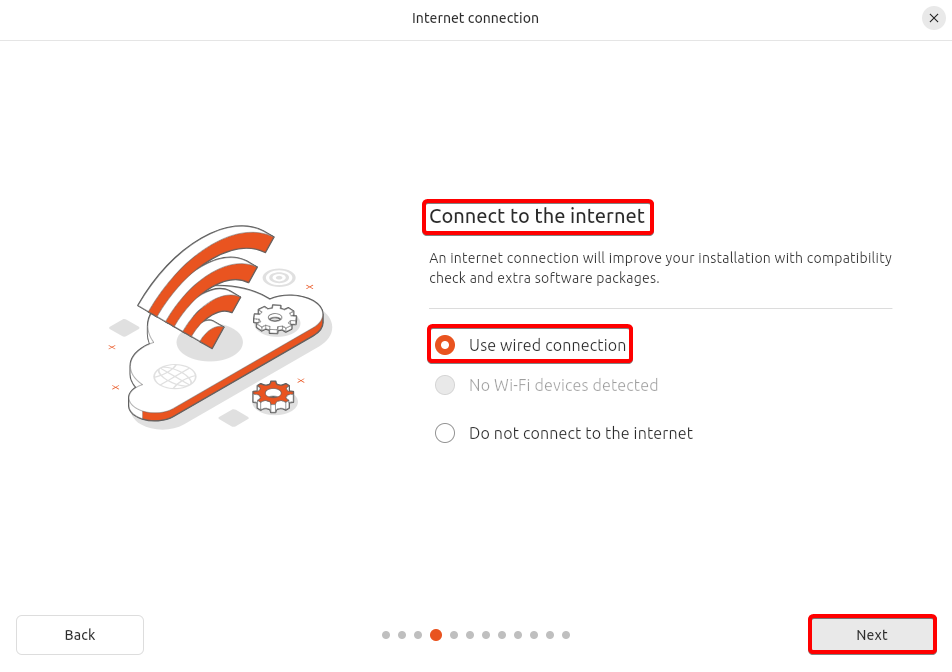
Connect to the internet and hit Next
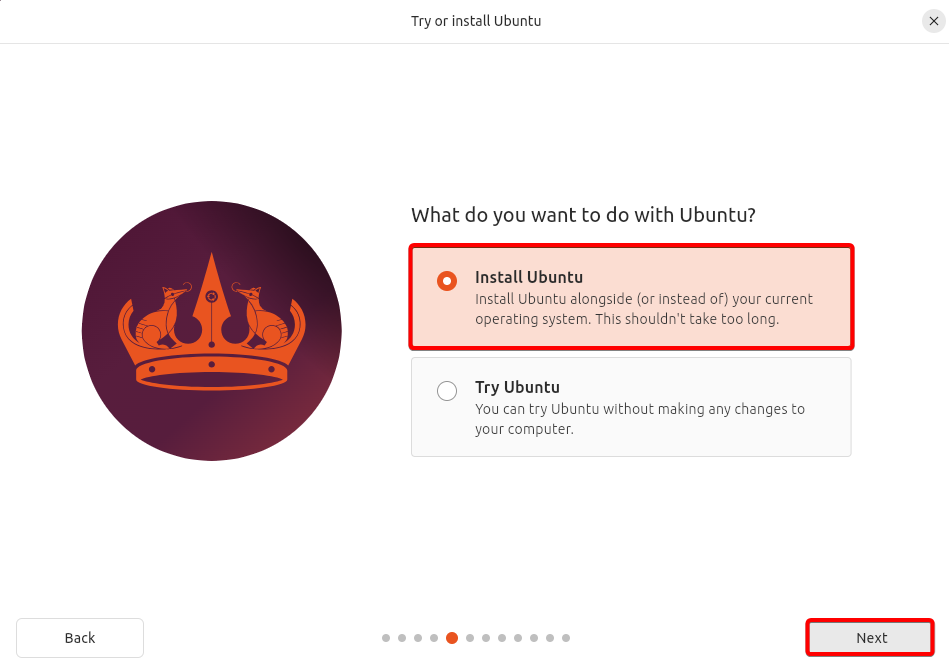
Select Install Ubuntu
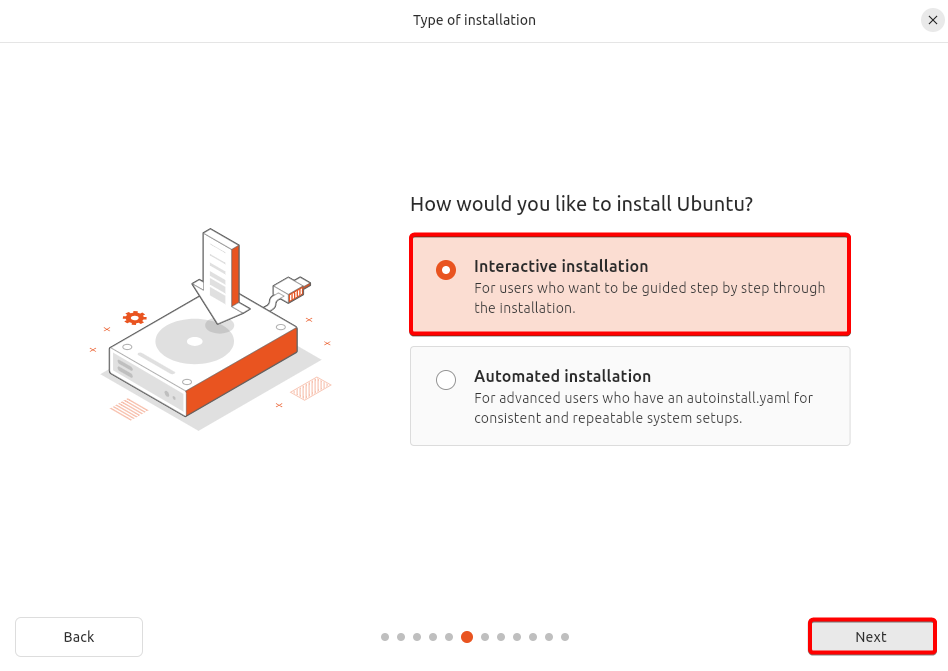
Select Interactive Installation
Choose Default Selection
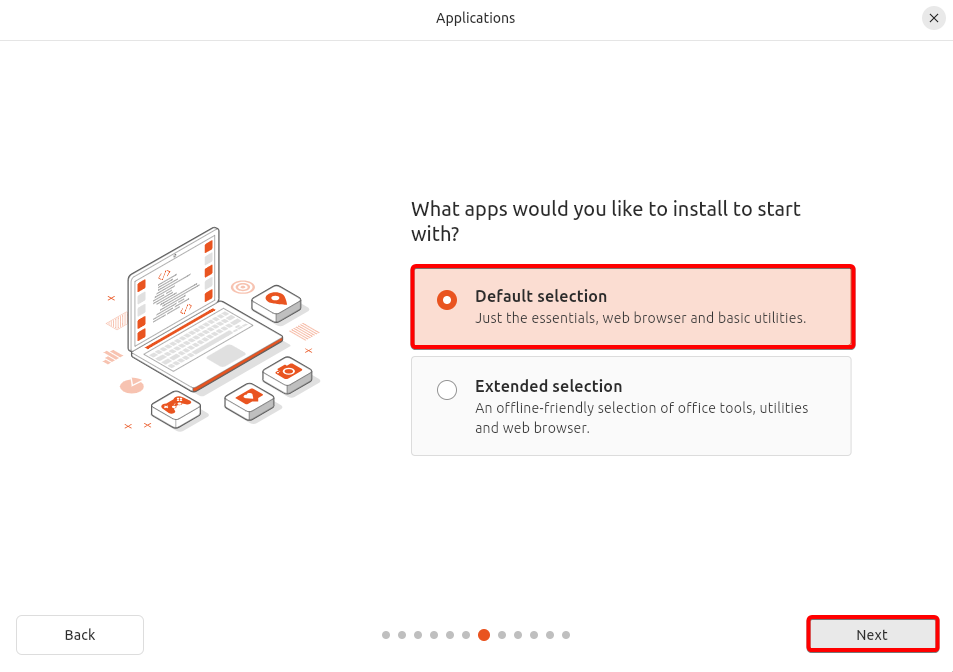
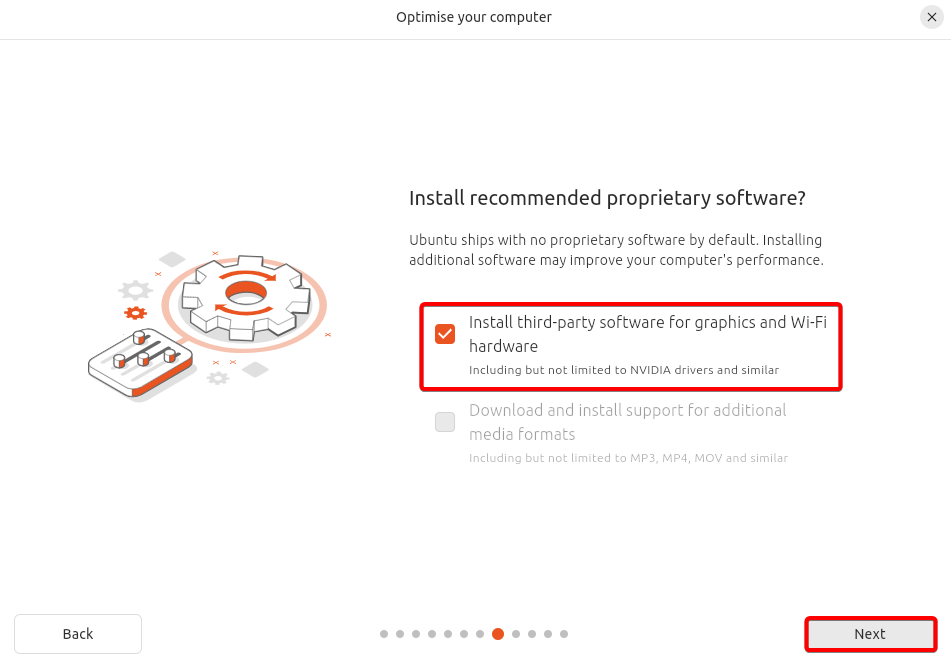
In the Install recommended proprietary software section, choose Install third-party software for graphics and Wi-Fi hardware
Make sure the option Erase disk and install Ubuntu is selected and then click on Next

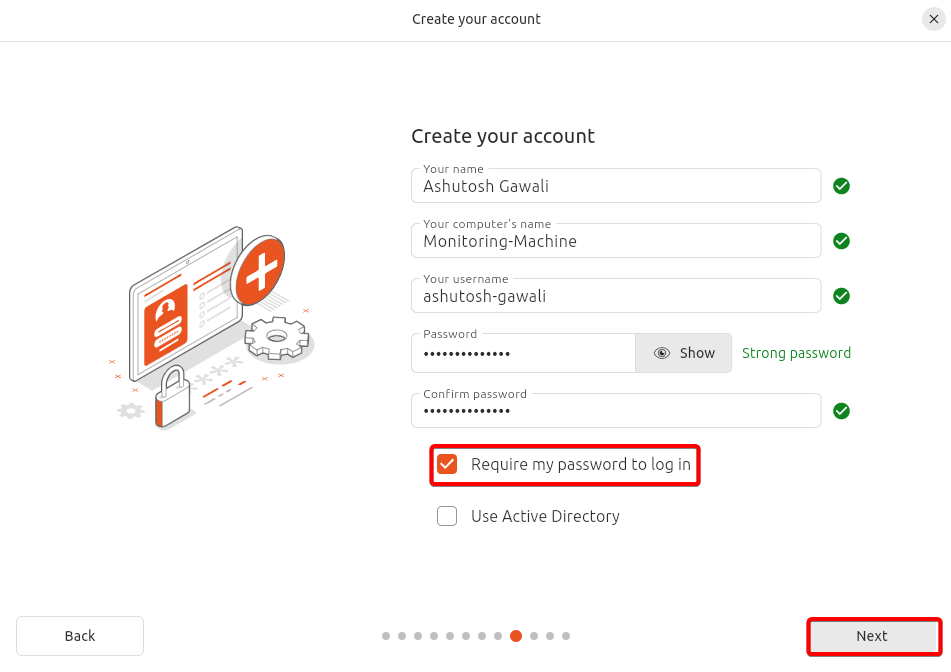
Enter all the required details and select Next
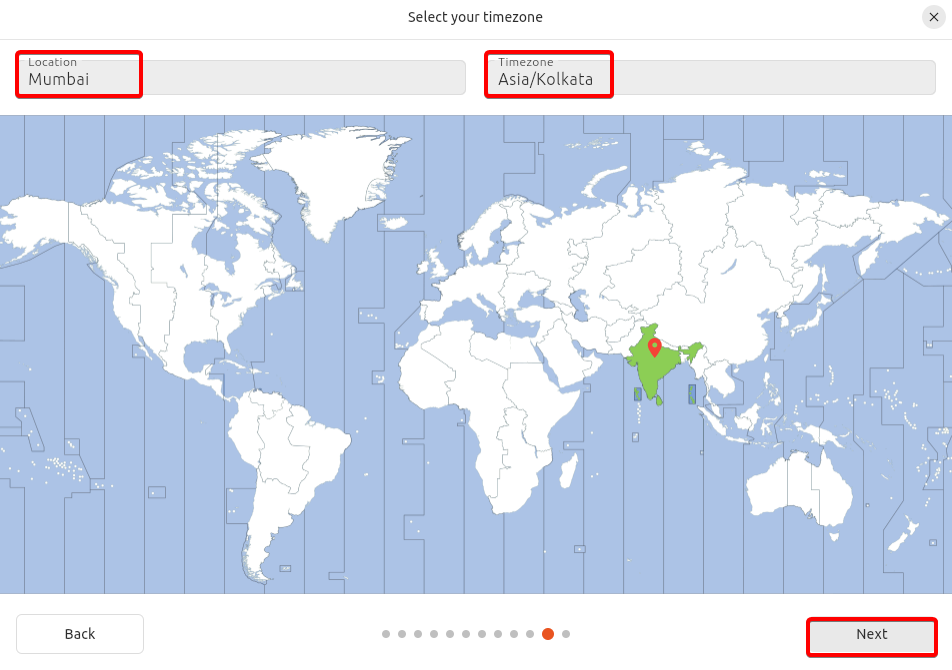
Select Location and Timezone
Review your choices and select Install

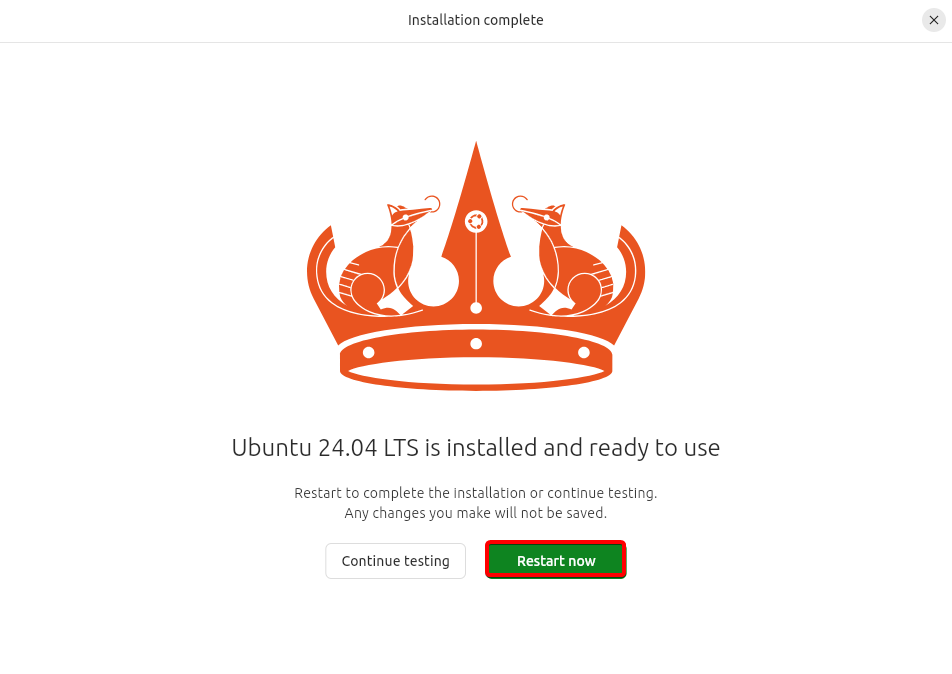
Wait for the installation to complete and Restart the system
Install Splunk on Ubuntu.
Download Splunk Enterprise.
Open the VM Ubuntu Desktop 24.04 LTS and navigate to Splunk Enterprise
Fill all the details in the form, accept the agreement and click on Create the Account
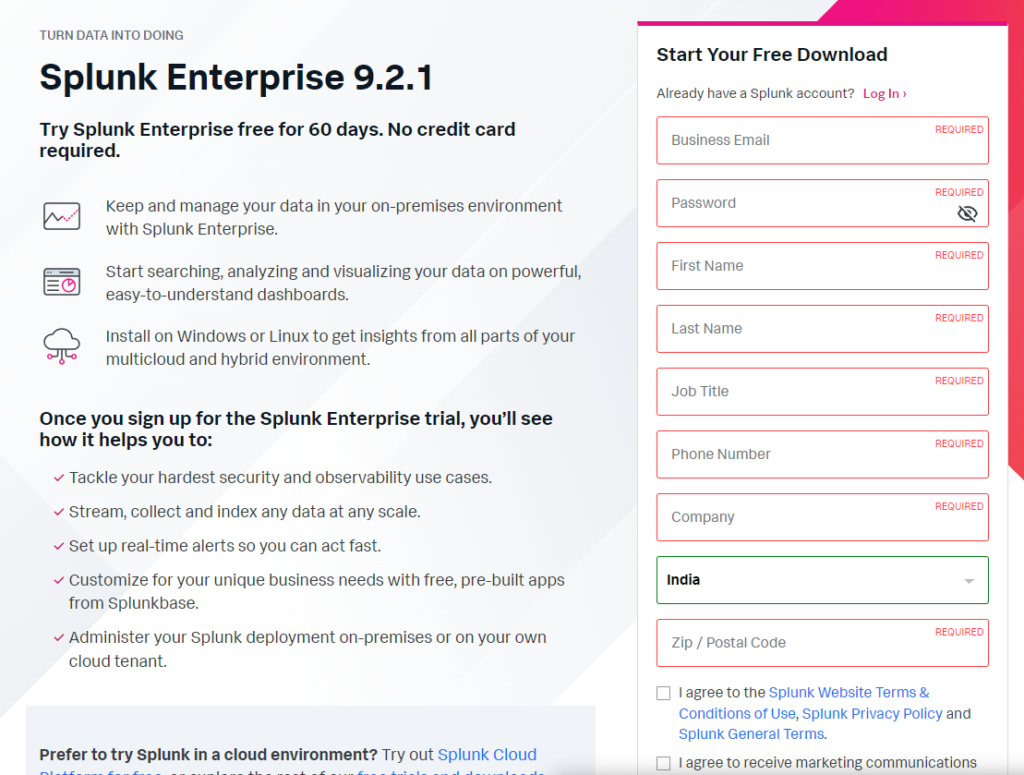
Once you receive the email in the registered email address, verify the account to get the Splunk Enterprise download link.
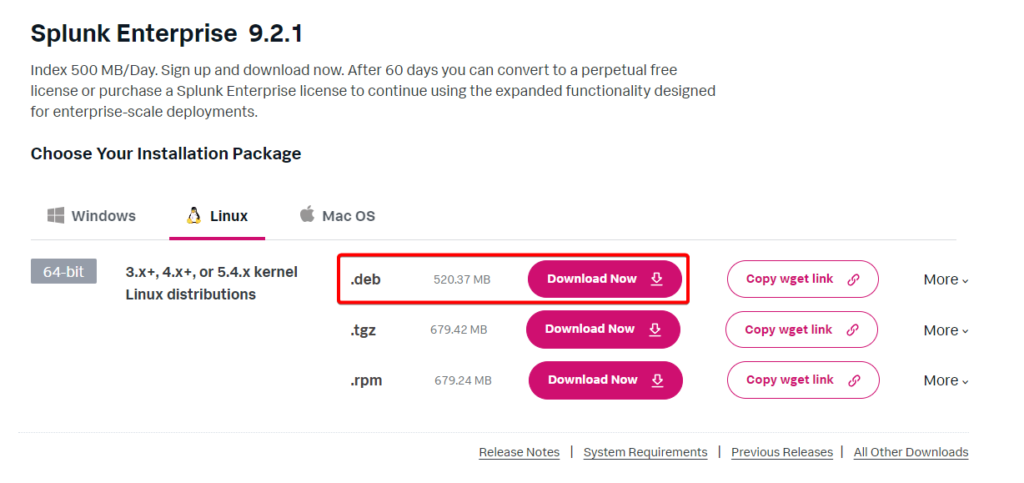
Open the Splunk Enterprise download link and download the .deb file under Linux.
Install Splunk.
As the .deb file will be downloaded in downloads folder, open Terminal in Ubuntu Linux VM. Execute the below command in terminal.
cd /home/ashutosh-gawali/Downloads/
Execute the below command to install curl (dependency for Splunk):
sudo apt install curl
If we do not install curl the Splunk installation will fail with the below error.
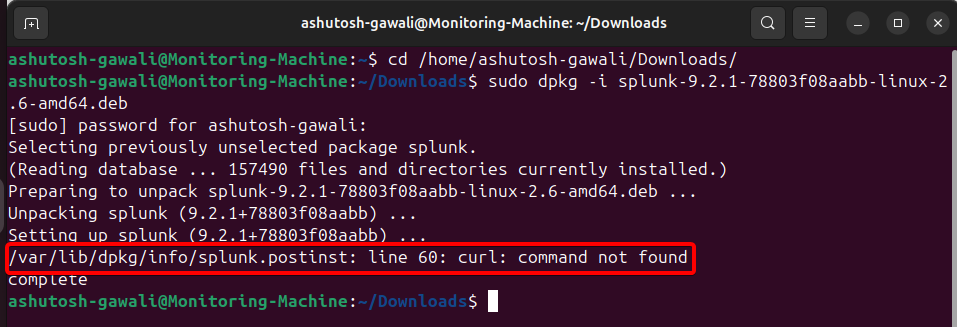
Once curl is installed, execute the below command to install Splunk enterprise.
sudo dpkg -i splunk-9.2.1-78803f08aabb-linux-2.6-amd64.deb
Wait for the Splunk Enterprise installation to complete.
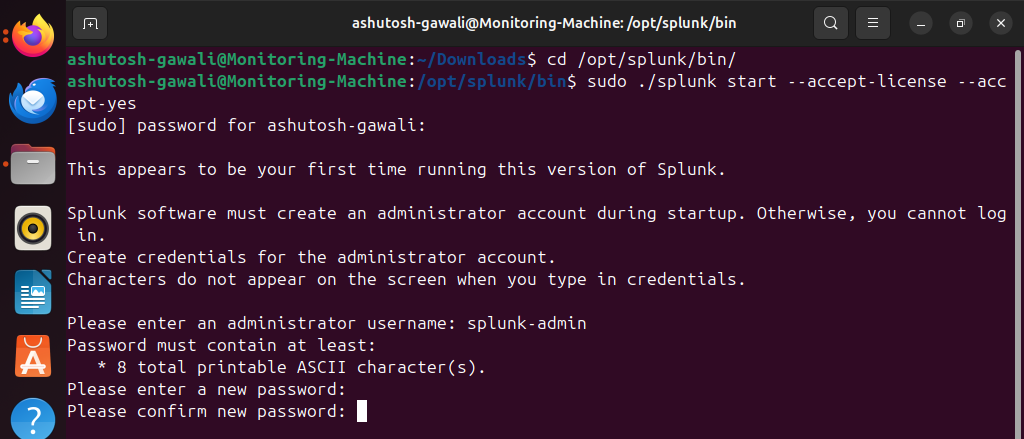
Change the directory in the terminal to /opt/splunk/bin/ (where Splunk is installed) and start Splunk.
1.  cd /opt/splunk/bin/
2.  sudo ./splunk start --accept-license --accept-yes
Create a new Splunk Admin and password for the Splunk admin.
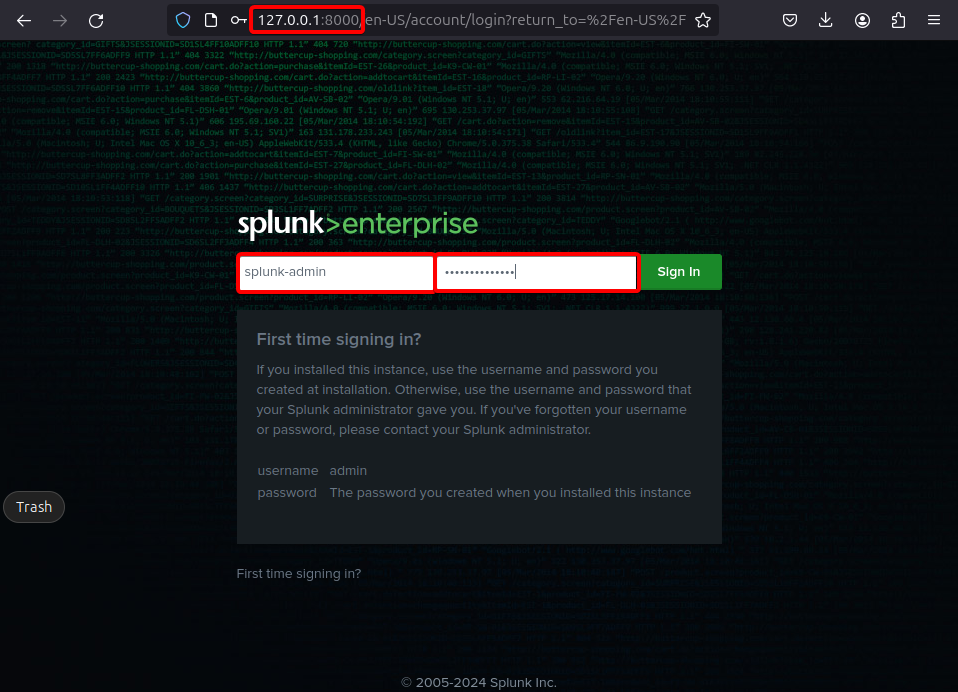
Once the setup is complete, Splunk is available on https://127.0.0.1:8000 or https://Monitoring-Machine:8000

Execute the below command to make sure Splunk will start every time the ubuntu VM starts.
sudo ./splunk enable boot-start
Splunk Configuration Changes.
Log into Splunk Web as a user with the admin role.
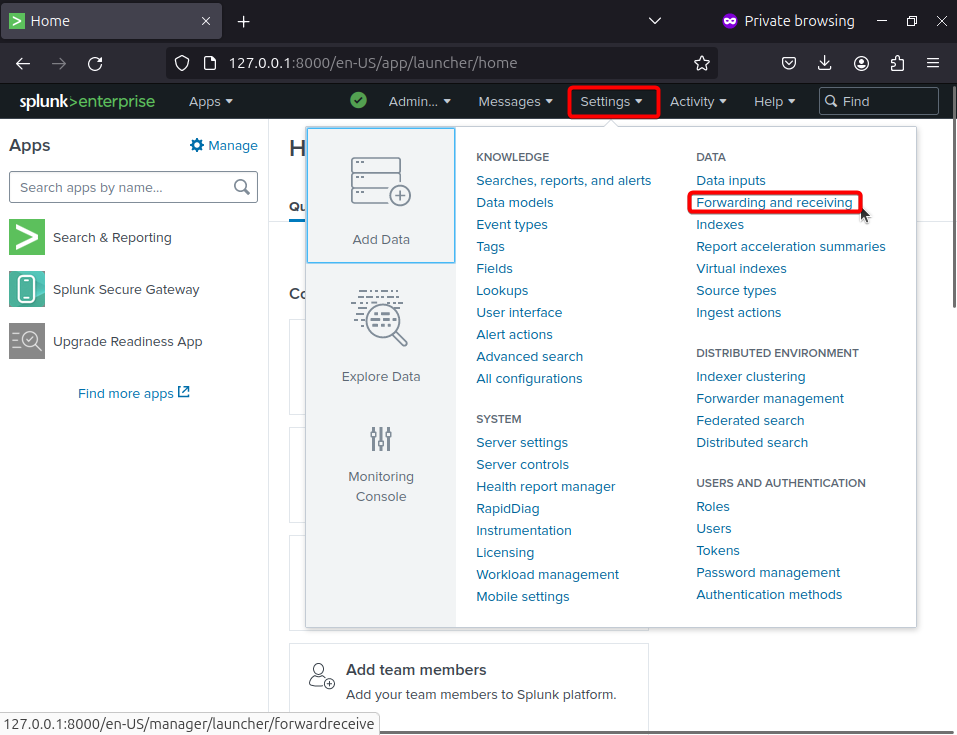
In Splunk Web, go to Settings > Forwarding and receiving
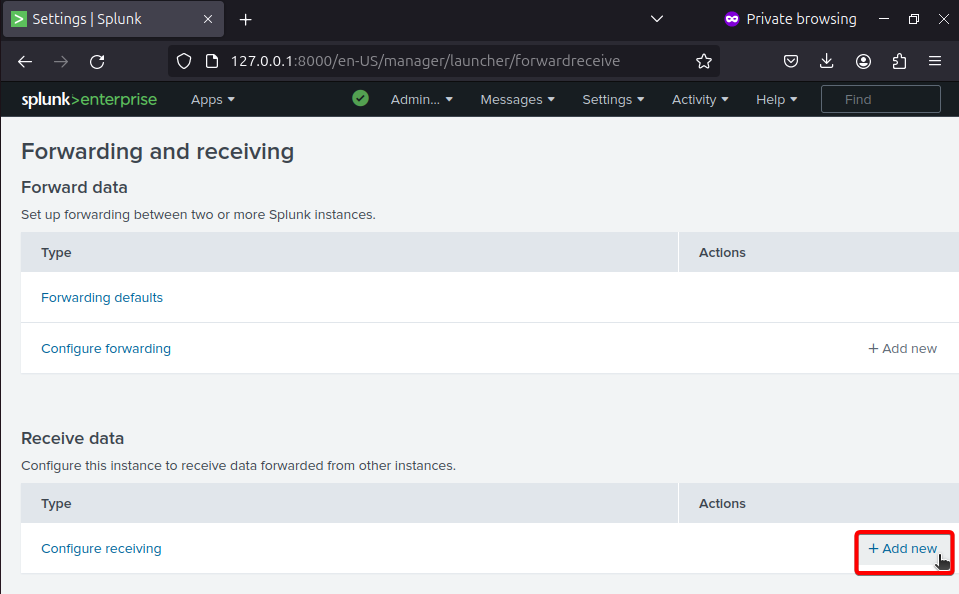
Select add new in the Configure receiving option
Enter port 9997 for the Splunk instance to receive data from the forwarders and save

Splunk Universal Forwarder Installation.
Splunk universal forwarder forwards the logs from remote machine to the server where Splunk is installed. now lets install, Splunk universal forwarder on Windows Server 2019.
Download Splunk Universal Forwarder.
Open the Windows Server 2019 and navigate to https://www.splunk.com/ and login using the account created at the time of Splunk Enterprise. Once you login, in the search bar, type Universal Forwarder
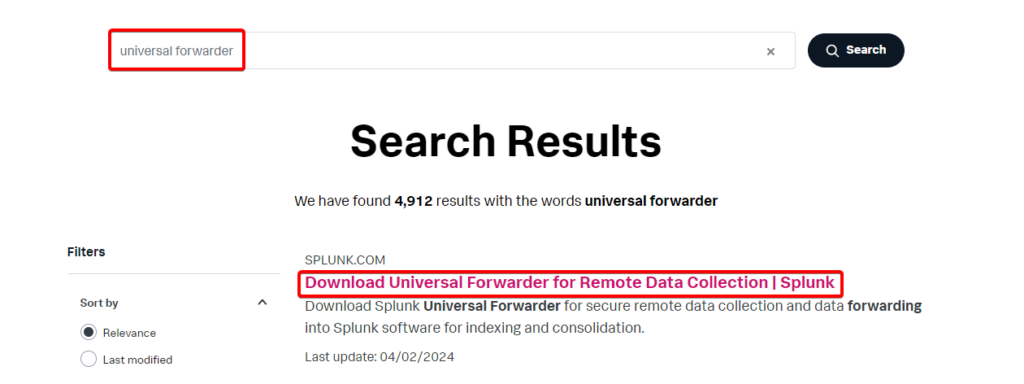
You can also navigate directly to Splunk Universal Forwarder 9.2.1 and login using the account and select Windows Server 2019 and download the .msi file.
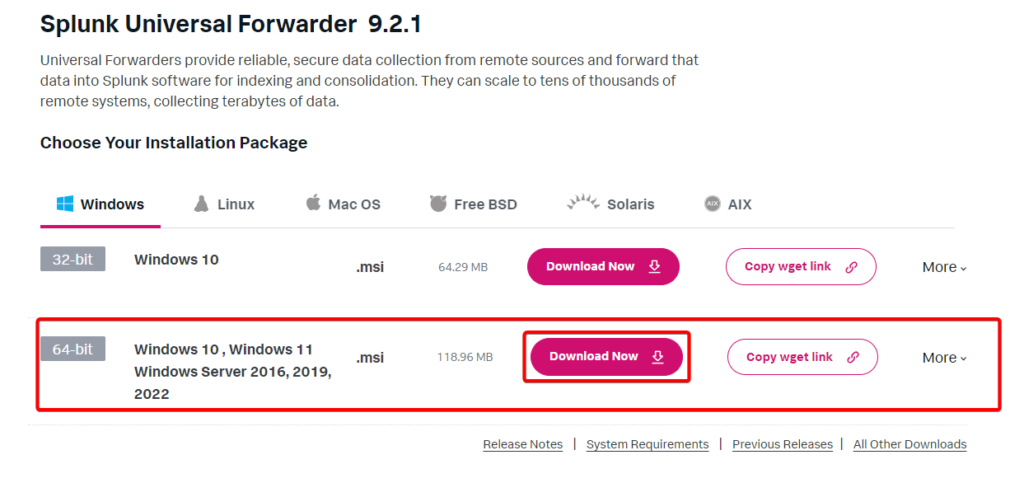
Configure Splunk Universal Forwarder.
Double click on the downloaded .msi installer file. Check the box to accept the license agreement and hit Next.
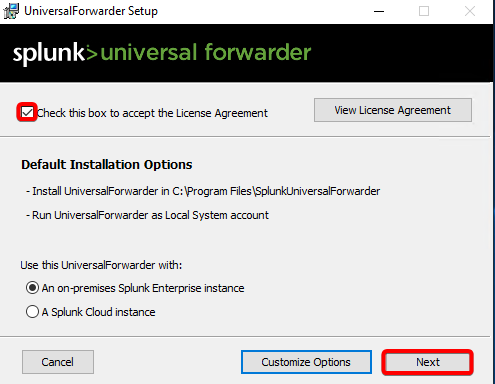
Select the username and password
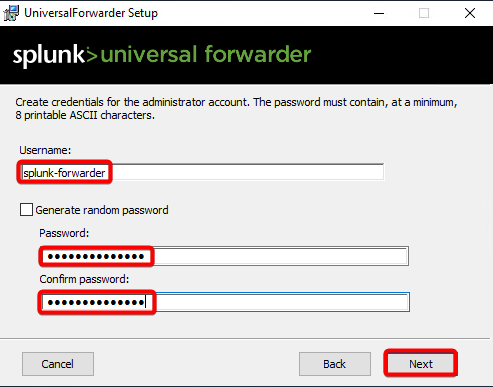
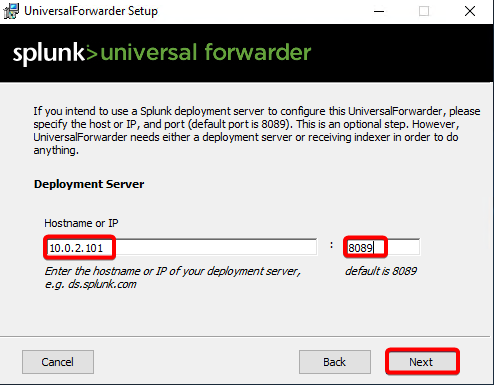
In the Deployment Server section, enter the IP address of the ubuntu VM where Splunk is installed. In the port number section, specify the default port number 8089
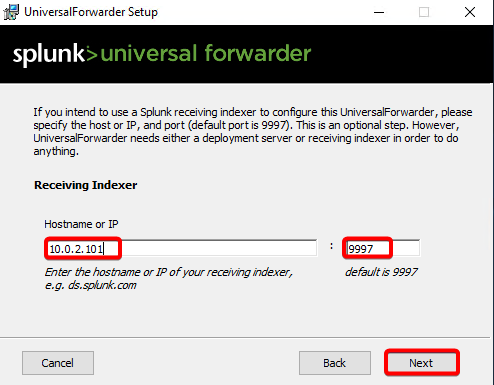
In the Receiving Indexer section, enter the IP address of the ubuntu VM where Splunk is installed, and for port number enter 9997
Click on Install and after the installation, click on Finish to close the installer.
Adding Data source in Splunk.
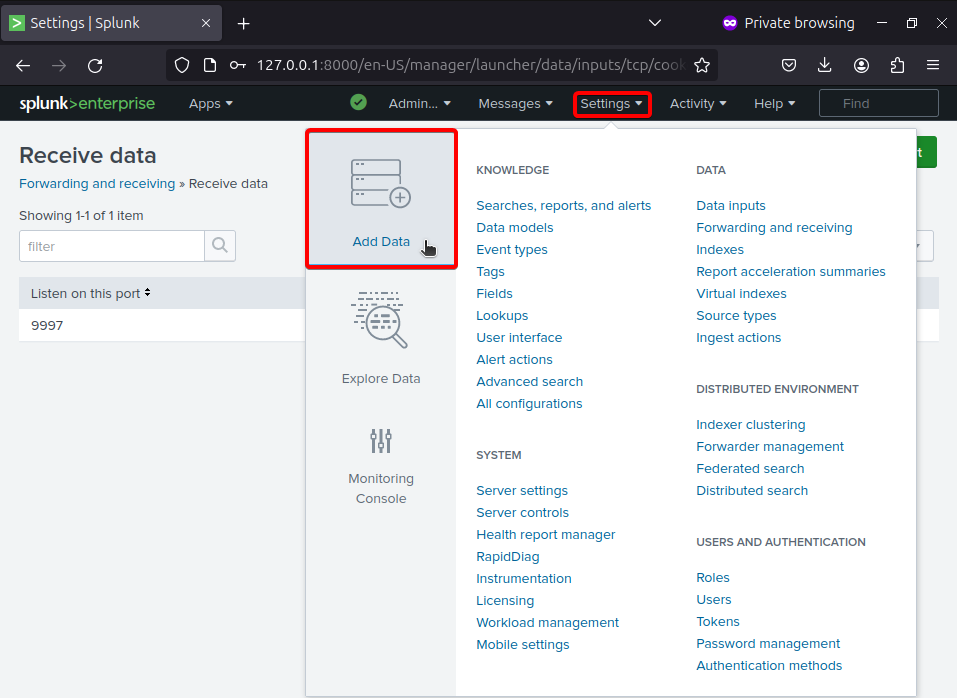
Open Splunk Console and select Add Data under Settings
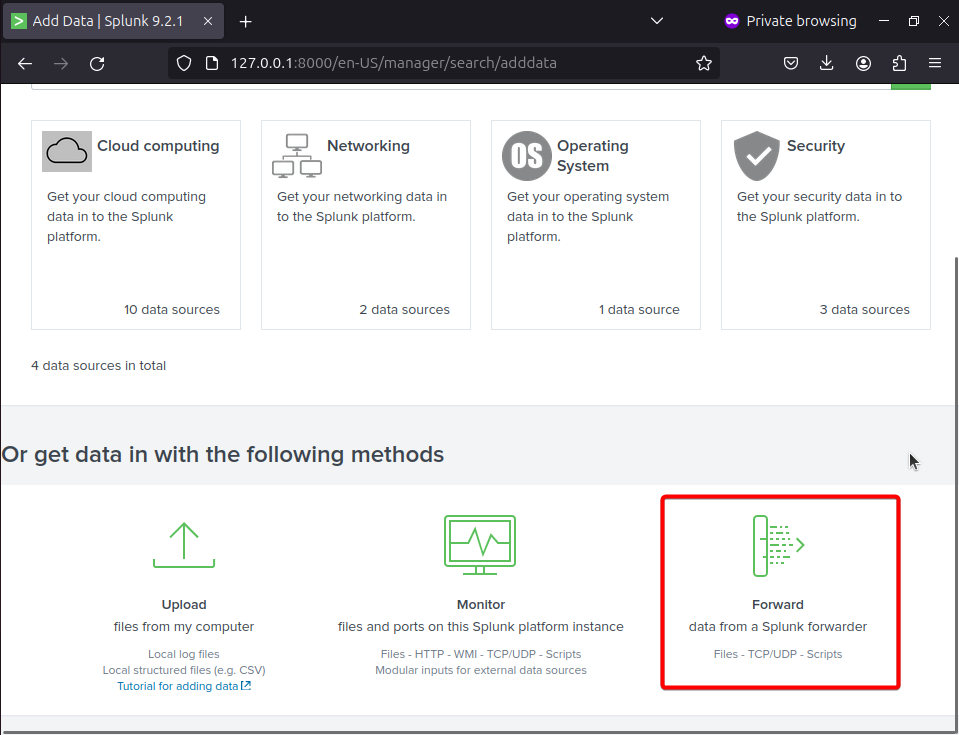
Select Forward option.
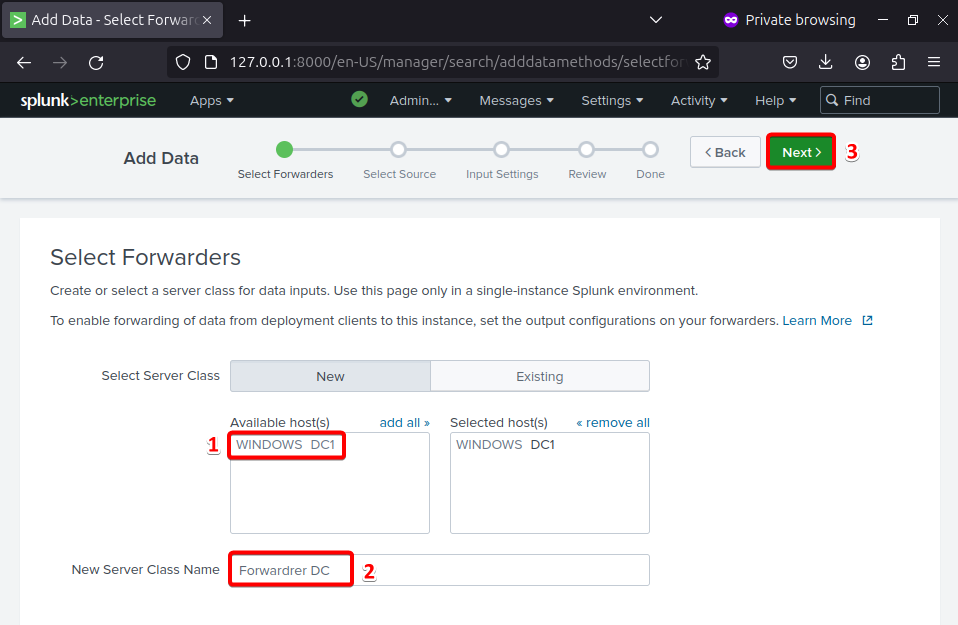
Select the Windows DC1 Server and specify the New Server Class Name and select Next
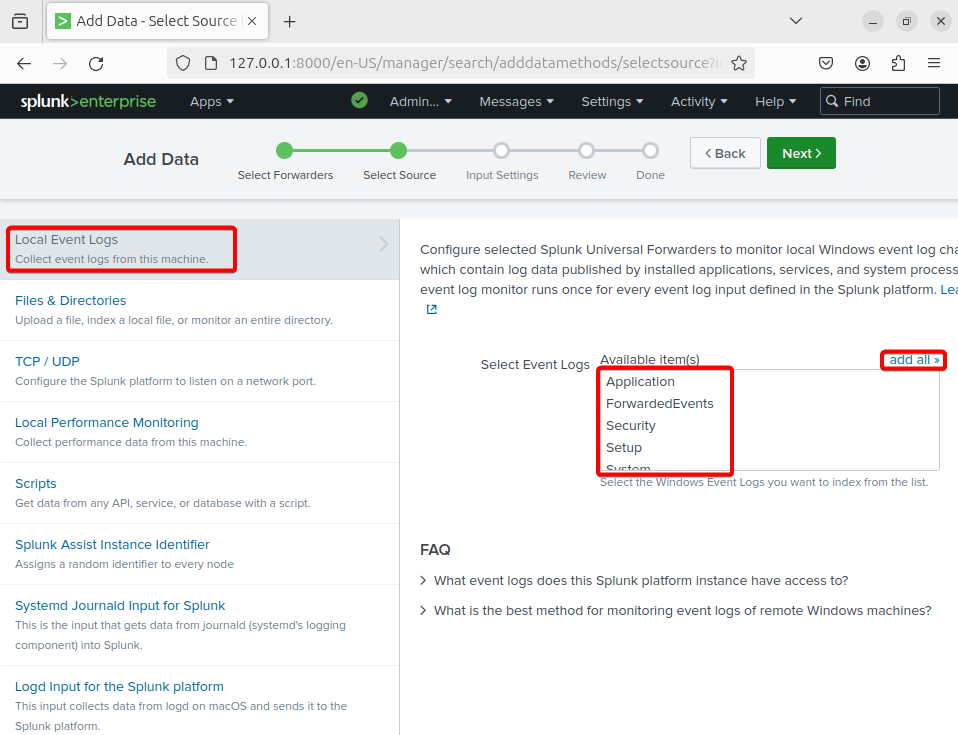
Select Local Event Logs then click on the add all
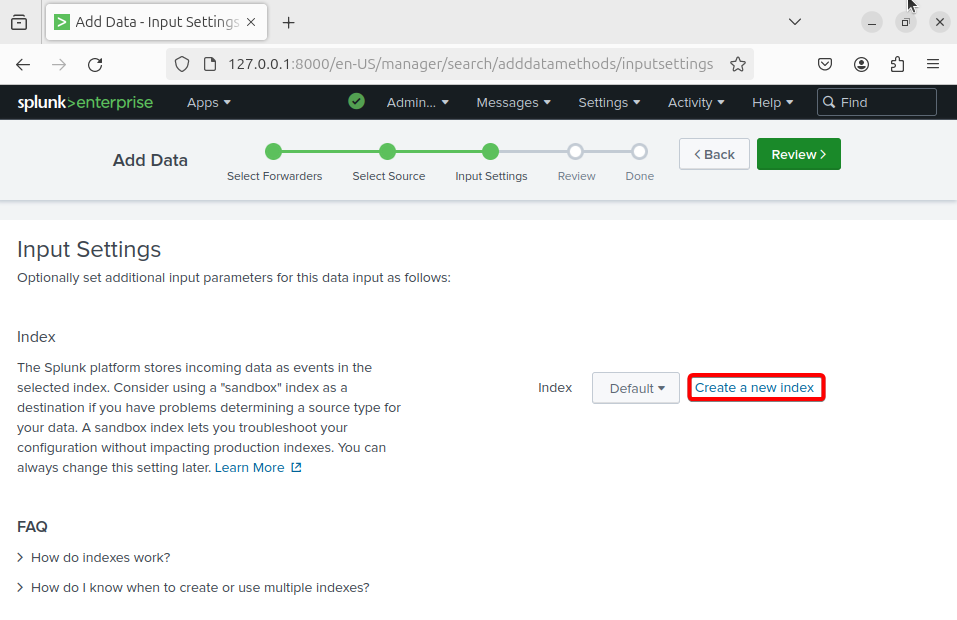
Click on Create a new index
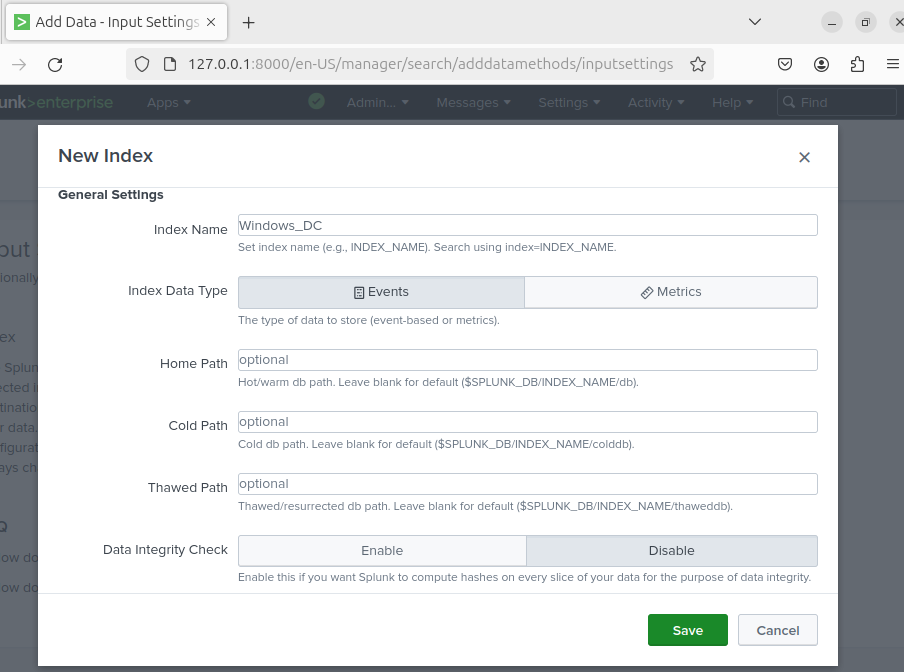
Enter the Index Name and keep all the other fields with default values and Save
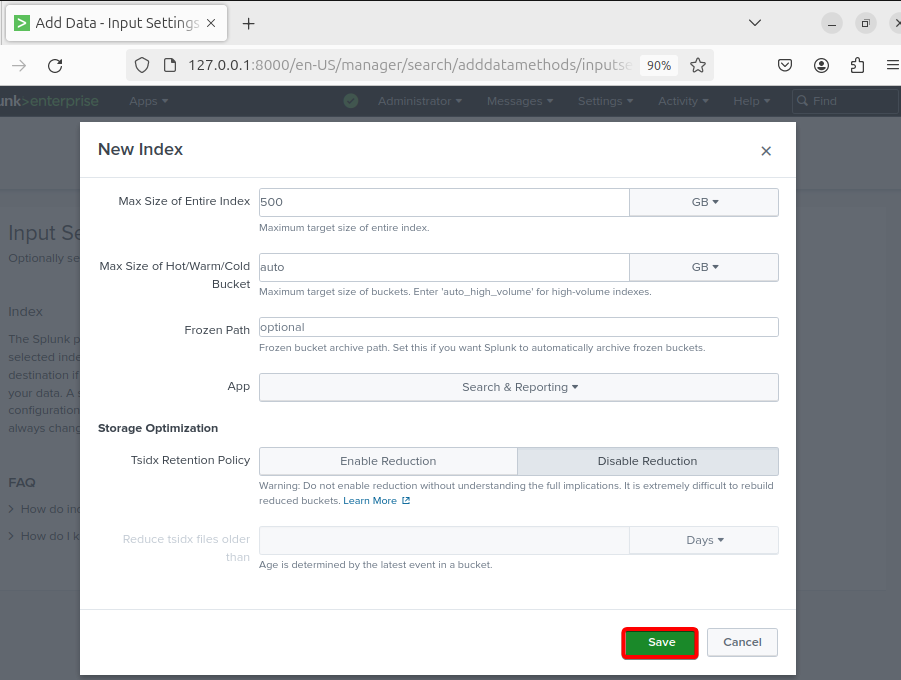
On the Input Settings page, select the Windows_DC (The new index which we just created). Select Review
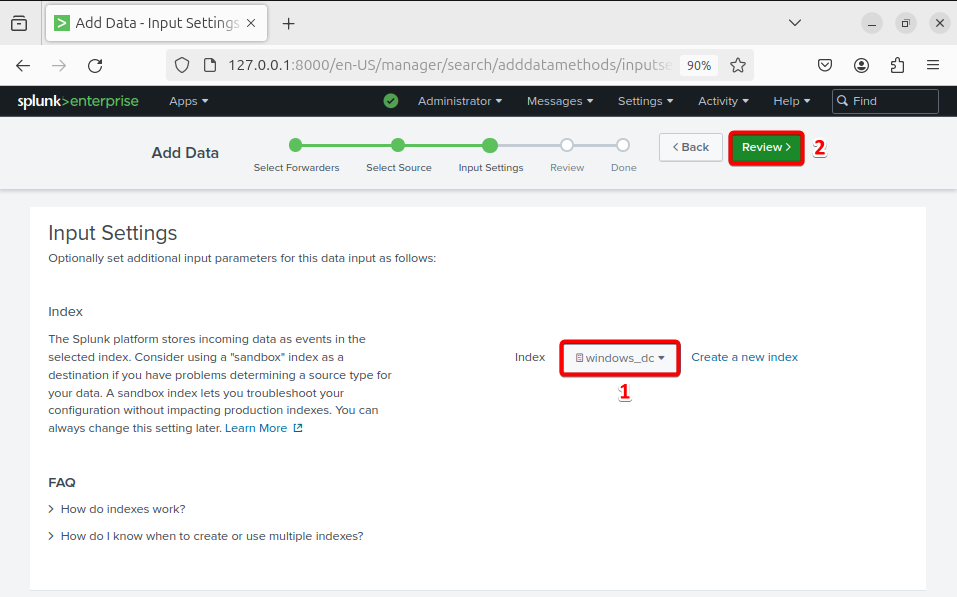
After Review, select Submit
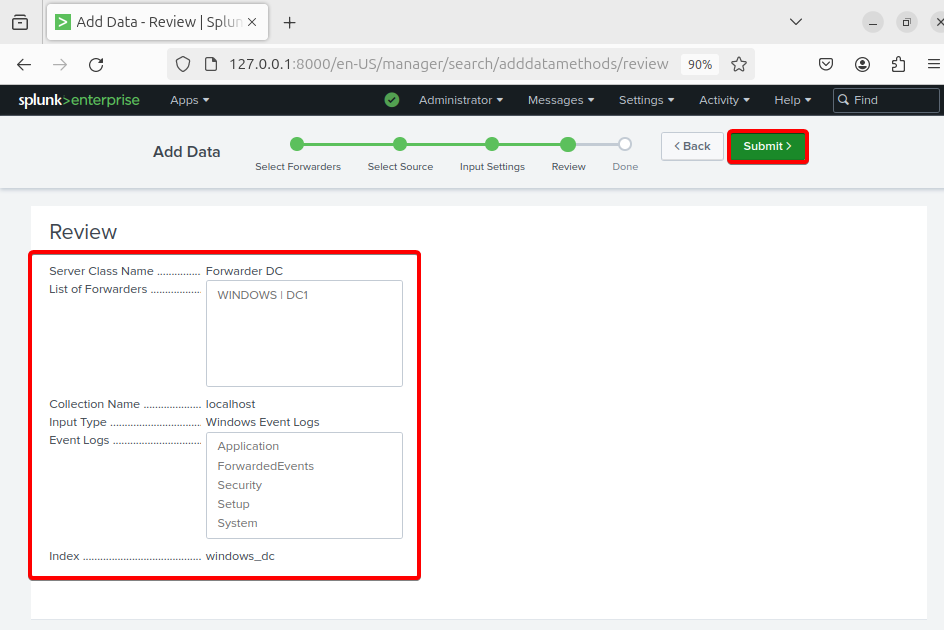
Below options will open after you submit. You can Start Searching for logs from Windows DC1.
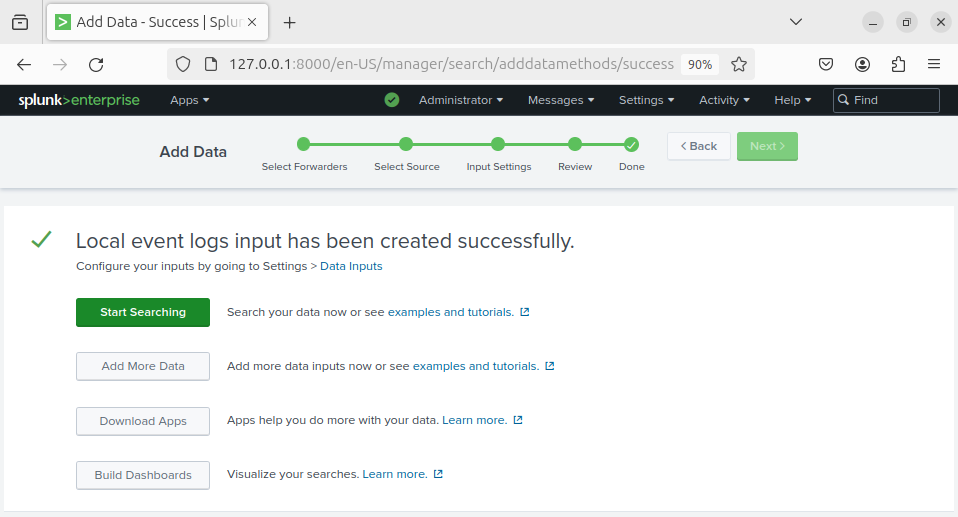
Querying Logs.
On the Splunk Web Console, select Apps –> Searching and Reporting

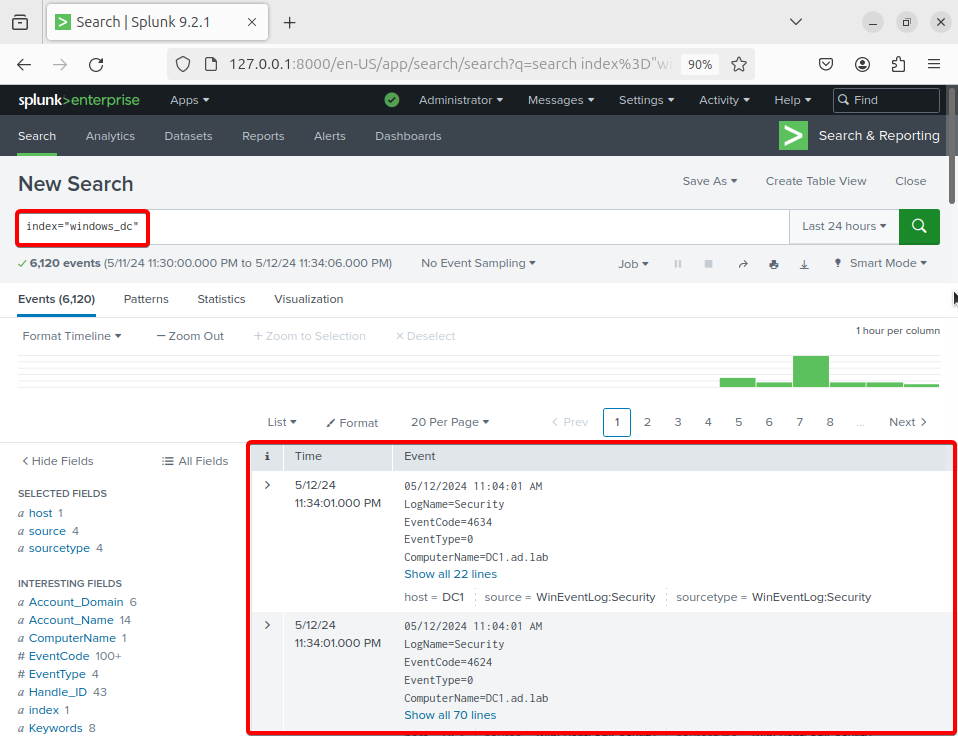
In the search bar type index=”windows_dc” and the logs from Windows Server 2019 will show up.
In this module we have installed Ubuntu Linux and setup Splunk Monitoring tool to monitor the logs sent from Windows Server 2019. In the next module we will create Vulnerable machines and add it to the Cybersecurity home lab.